Saturday 16 June 2012

Card Making & La-La Land Crafts

Once all the daily chores are complete, it is great to spend some quality time with my girls, doing what they love doing . . . craft!

Yesterday afternoon we did lots of stamping and made lots of cards together.


We love our La-La Land Crafts stamps - this was one of the newest ones added to our small collection.


One of my daughters absolutely loves cats and has always had a very close bond with our dear 17 year old Burmese.  She was very excited when we found this other new stamp last weekend at the papercraft show.


We have been experimenting with our chalks and water pens on the backgrounds of this card and the one above.  It gives an interesting effect and softens the background.


These were less complicated cards, using embelishments.  The flowers in the second card were made with our new Close To My Heart Stamps - I just love them - especially the swirly design!!


Here is our small collection of La-La Land Crafts Stamps - of course there are many more that we like, but we just stick with what the budget allows and buy one every now and again.


Tonight I plan to watch a movie with my family and try to work on some crochet - something I have never learned, much to my regret, but I am persevering and teaching myself.  I love how quickly it grows!!


Thursday 14 June 2012

Little Girls Quilt - Raggedy Friends

Last night I had the opportunity to spend the evening catching up with my brother - something we don't often get to do as we live in different States.  His job brings him to Queensland every so often and we try to take advantage of that and get together when we can.  On this trip he played courier for my mum and brought a very exciting parcel for me.  Well, to be more precise, the parcel wasn't technically for me, it was for my youngest two girls - but I was every bit as excited as they were. 

Here is what was inside ~


Matching quilts (to co-ordinate beds because the girls share a room) - definitely a treasured gift from Grandma to her grand-daughters. 


The fabrics used were all Moda Faded Memories - the colour palette is just gorgeous.  You can't help but love the cute little raggedy girls when you see them, they are adorable!  This second photo was taken at night, not a true representation of the colours, but shows the detail a little better.  The quilts have different backing fabrics as well as a gift label, so easily identifiable by their new owners.

Thanks Mum, you did a brilliant job - these quilts are more than wonderful!!!


Monday 11 June 2012

Close To My Heart

It has been cold and rainy the last few days and perfect weather for spending indoors at a papercraft show!  I always enjoy wandering around any type of craft show and looking through all the newest and latest merchandise on offer and also learning new techniques for a variety of crafts from many talented artisians.


My biggest excitement upon arriving at the Brisbane Papercraft Show was to find that my most favourite company of all time has finally arrived in Australia and is ready to launch their Australian website next month!!  The company I am referring to is called Close To My Heart and if you have never seen their products, then you will be in for a treat once it is up and running.


I first discovered Close To My Heart (CTMH) when it was originally called D.O.T.S. (Dozens of Terrific Stamps).  They had the cutest stamps ever and were one of the first companies to have beautifully colour co-ordinated inks and papers.  This was around 20 years ago mind you, back before scrapbooking had really emerged as a craft here in Australia and stamping was only in it's early days as far as being able to source stamp supplies here too.  Their products were so much nicer than what was available at the time anywhere else.

On one of my trips to the USA I purchased heaps of D.O.T.S. supplies to bring back home with me to use.  I still have all my original wood mounted stamps aznd won't part with them because I still love the designs.  I must admit I do prefer to use the clear acrylic type of stamps everyone has these days and I'm so glad CTMH has these too.  I remember being so excited to be able to colour co-ordinate all the papers and inks.  How far we have come - now we can co-ordinate everything and can't even imagine not being able to do so.  Those of you who are long time crafters will know what I mean though.

Close To My Heart had a nice big stall set up at the Papercraft Show and had tables with supplies where customers could make up a little card to try out their products for free.  This little card below is the one which I made.  They also had a limited supply of items for sale, just a sampling from their great range.  I loved the style of the new ink pads and the unique way they swivel to open, the inks are stored upside down.  Of course I loved the colours too - they have over 60 of them!!! 


Keep a watch out for CTMH online in July.  Their prices are good and the shipping costs are going to be very low.

In the afternoon we booked in to do a class with Close To My Heart.  Their classes were the most reasonably priced of all, which I totally loved - especially considering I was paying for 3 of us to do it!  At only $5 each, it was amazing value for money - to the point where I know the materials we used definitely cost more than we paid.  Here is what we made.


This cute little wooden banner was so simple to do and such an enjoyable project to work on.  Everything came in a kit form, so we really only assembled it and added distressing etc. 


We also made a very cute card which had a centre piece which popped out, perfect to hold M&M's as a filling (or whatever else you chose to put in).  The inside is really pretty and co-ordinates with the front.  The flower design on the front is a board design and inside is a more detailed sticker design.  These are specifically designed to fit this type of card perfectly.  The cards are just made on plain brown card - if I was doing it at home I probably would have added a bit more colour as they look a little plain for my tastes.  Still, I think they are such a great card - a wonderful idea for birthday cards.


This birdcage card is one which my daughter made up during a Kaszazz workshop at the show.  It is so pretty, done on a glossy card. She had fun learning some new techniques and enjoyed the opportunity to use some beautiful stamps.

So all up it was a very fun day, we did quite a number of workshops and enjoyed a little shopping too.  A perfect winter day!!!


Monday 4 June 2012

Birthday Cakes and Decorations

Tonight I thought I'd share the rest of my creative birthday party ideas.  I love searching on Pinterest and finding great new ideas I want to try.  When it comes to parties, the ideas are endless!  So here are a few of the things I made for my daughter's party. 

First up was a lollipop topiary tree.  This was just something fun I wanted to try and the party guests all enjoyed it.  If you ever make one, just a word of caution, it is quite top heavy and needs to be weighted down at the bottom to stop it from falling over.  I forgot to take photos of this until later, so the popular red lollipops had already been long gone!  It was great item to have at the end of the party because this provided plenty of extra lollipops to share with siblings of party guests as our guests were leaving.  It does look a little lop-sided here, after all the handling it received.


Next was my first attempt at giant tissue paper pom-poms.  I love the look of these and it was a nice change from having the usual balloons.  These too are actually quite heavy when hanging, so they needed to be well secured.  Making a few and hanging together creates a lovely effect.


The week leading up to the party I was shopping in Target and came across a set of cake tins especially for baking cake pops.  These seem to be the latest trend and I had helped to make some last year for a school function, but those were done with a lengthly process which included molding the cake pops by hand.  I was actually very excited when I found these cake tins and quite easily talked myself into the fact that they were quite a good investment for my kitchen because I knew that I would make these plenty of times for parties and functions over the years ahead.  I used my trusty chocolate cake recipe and the cake pops came out of the tins perfectly.  The decorating was kept very simple, just dipped in white chocolate and sprinkles. 


Again, I forgot to take a photo of the stand I had filled with cake pops, all packaged up and ready to send home with our guests.  They looked like a cute bouquet of flowers!  The cake part is actually quite large, I would guess slightly larger than a golf ball . . .and very delicious!

The birthday cake request was for a Lalaloopsy cake, but to be honest, I just ran out of time.  The cake itself was a layered pink rainbow, each layer ranging from lighter to darker.  The icing was quite a disaster which is why you can only see the top of the cake.  It reminded me of a pink mud slide and almost had me in tears.  In the end I walked away telling myself not to stress, it was after all, only a cake . . . . with some of my daughter's Lalaloopsy dolls on the top.


So this marks the end of the birthday prearations for a few months - until the next birthday comes along!!


Sunday 3 June 2012

Lalaloopsy Craft Birthday Party


This past week my days have been consumed with party preparations.  I have always been a big advocate for home birthday parties - maybe because I can remember having them when I was young and now I enjoy creating those childhood memories for my own children. 

My third child is very creative and loves anything that is crafty, so it came as no surprise to me that she wanted a craft party for her birthday. She also loves Lalaloopsy Dolls and wanted a Lalaloopsy party too - and as all mothers will know - in our younger children's minds we can do anything - so I definitely had a challenge set before me.  Where would I be without the internet?!!


I did actually have a lot of fun making everything up ~ the little Lalaloopsy dolls are very cute!

We were able to make our own Lalaloopsy Party Invitations


and Party Favour Bags


and even party accessories.  We also printed up big pictures to use for decorations.  So it definitely looked like a Lalaloopsy Party.  The Birthday Girl loved it, so that is what counts!  

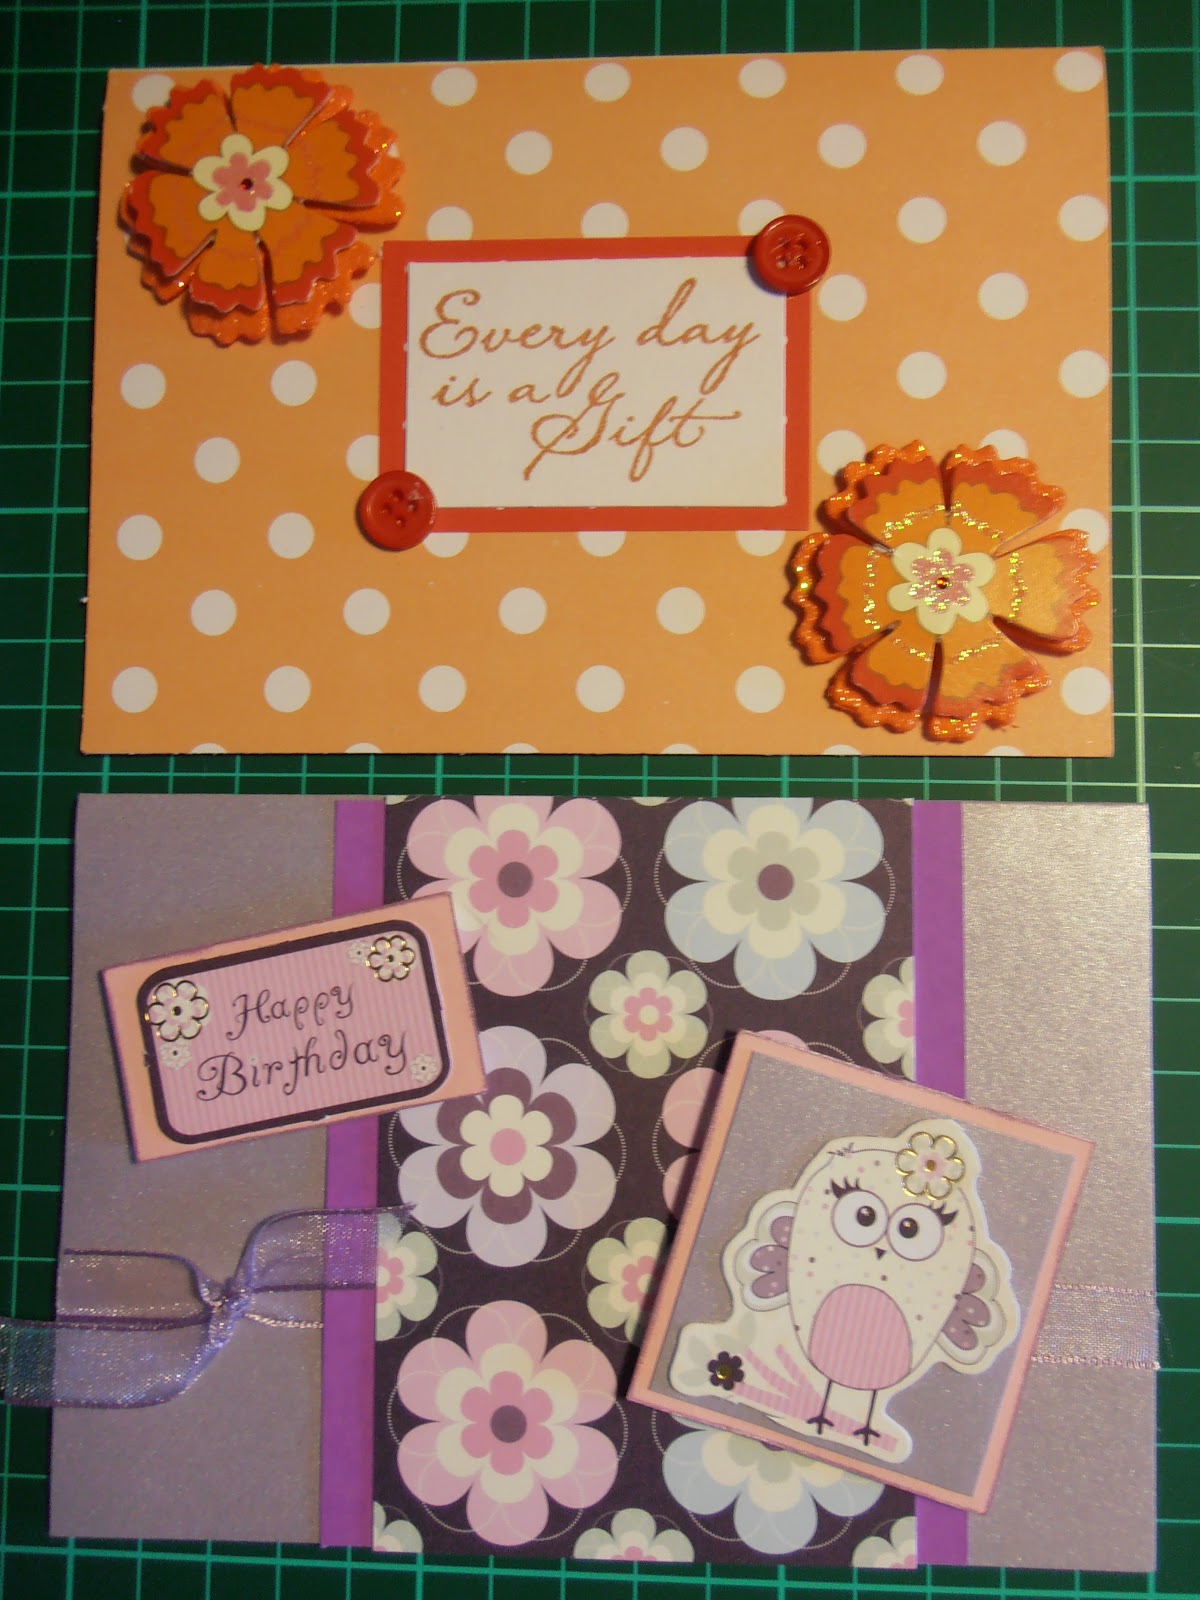
For games we did the always popular pass the parcel, a button guess game, some musical games and we also made our own game version of pin the tail on the donkey and instead it was “Pin the bow on the Lalaloopsy Doll” which was fun for the girls.  We alternated between games and crafts which gave me a little extra set-up time in between, ready for the next activity.

Now for the crafty side of things - and I must say that this is getting easier as the girls get a little older - you are able to do things that require a bit more concentration and care.  Most of the girls were around 8/9 years of age.  As far as buying supplies goes, most of it I do from home.  Online shopping is just brilliant, I would be so lost without it!

First up the girls all made their own decorated jewellery/trinket boxes


We had pre-painted the boxes with different metallic coloured paints.  Then there was a table full of decorative pieces and lots of sparkly bling - the girls spent a long time working on these.  All were very different by the end and just gorgeous.

After making jewellery boxes - of course they had to make some jewellery to go inside!

Firstly they all made bottle-cap necklaces.  Again the girls had a huge selection of pictures to choose from so they could individualize their necklaces to their own style.  We had lots of Lalaloopsy dolls for these too.  The necklaces were so simple to make and didn't take long at all.  The bottle-caps are inter-changeable, so they can swap them around and wear whichever one they want.


Next they all made button rings.  These were a little more fiddly, but very, very popular!  I was so grateful that I had ordered extra supplies of the rings and the girls didn't stop until we ran out.  Again, they had plenty of buttons to choose from - I have quite an extensive collection, so lots of colours and even novelty and sparkly buttons.  They produced some lovely rings and it was fun to see their different styles coming out with what they made.


and there were plenty of regular beads just for having some fun!


All the girls had a great time, it was fun to watch them all being creative, interacting with one another and enjoying their friendships - which of course was helped by the fact that they all knew one another.  My girls certainly enjoyed the birthday party and were tired by the end of the day.

I have more to share but think that I will save those things for my next  post.